DIY Siding Repair Near Me Easy Steps to Fix Siding Rot
Maintaining the exterior of a home is crucial for preserving its value and ensuring its longevity. Siding is a critical component, protecting the structure from the elements while contributing to its aesthetic appeal. Over time, however, siding can suffer from rot and damage due to moisture, pests, or general wear and tear. Fortunately, many siding issues can be resolved with DIY solutions, saving homeowners the cost of professional services. This article will guide you through easy steps to fix siding rot, ensuring your home remains protected and visually appealing.
Understanding Siding Rot
Siding rot is a common issue in areas with high humidity or frequent rainfall. It occurs when moisture penetrates the siding material, causing it to deteriorate and weaken over time. Identifying and addressing siding rot early can prevent more extensive damage and costly repairs.
Signs of Siding Rot
- Visible discoloration or dark spots on the siding.
- Soft or crumbling areas when pressure is applied.
- Swelling or warping of the siding panels.
- Peeling paint or flaking surface coatings.
DIY Steps to Fix Siding Rot
Repairing siding rot involves several straightforward steps that most homeowners can manage with basic tools and materials. Below is a step-by-step guide to help you tackle siding repairs effectively.
Step 1: Assess the Damage
Begin by thoroughly inspecting your home's siding. Identify areas affected by rot or damage, marking them for repair. It's essential to determine whether the damage is superficial or if it has penetrated deeper into the structure. Learn more in this detailed guide about assessing siding damage (https://www.siding-omaha.com/siding-insulation-services/).
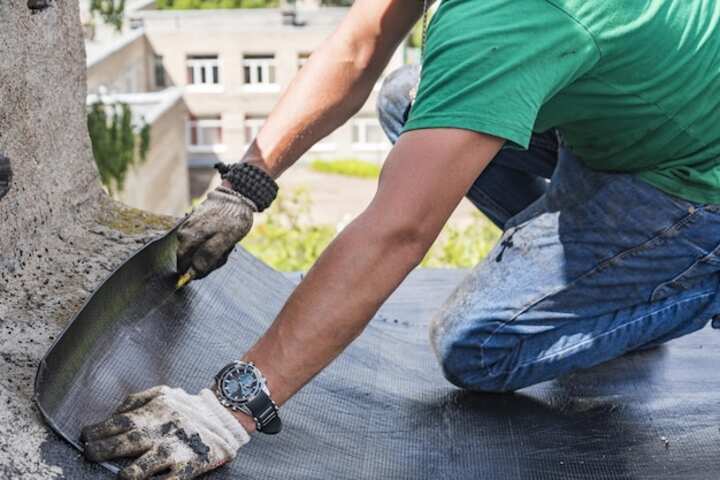
Step 2: Remove the Damaged Siding
Carefully remove the damaged sections of the siding using a pry bar or similar tool. Be cautious not to damage the surrounding areas. Once removed, inspect the underlying sheathing for any signs of rot or moisture infiltration.
Step 3: Treat the Affected Area
Before installing new siding, treat the exposed area with a wood preservative to prevent future rot. This step is crucial, especially if moisture was the cause of the original damage. Allow the preservative to dry thoroughly before proceeding.
Step 4: Install New Siding
Measure and cut new siding panels to fit the area you’ve prepared. Ensure the new pieces match the existing siding in material, style, and color. Secure the new siding using nails or screws, making sure each panel is level and properly aligned. Read more about this topic.
Step 5: Finish and Seal
After installing the new siding, apply a quality sealant around the edges to prevent moisture intrusion. Finish by painting or staining the new siding to match the rest of the house. This step not only protects the new material but also ensures a seamless appearance.
Preventing Future Siding Rot
Consistent maintenance can greatly reduce the risk of siding rot. Here are some preventive measures:
- Regularly clean and inspect your siding for signs of damage.
- Ensure gutters and downspouts are functioning correctly to direct water away from the house.
- Trim nearby trees and plants to prevent excess moisture buildup.
- Consider using rot-resistant materials for new installations. Explore further insights here.
When to Call a Professional
While DIY repairs can be effective for minor issues, extensive damage or complicated repairs may require professional intervention. If the siding rot has spread significantly or if structural integrity is compromised, it is advisable to contact a professional service. Find additional information here.
For insights into the quality of professional services, check out customer reviews here.
In conclusion, addressing siding rot promptly and effectively can save homeowners significant time and money. By following these DIY steps, you can maintain your home’s exterior in top condition. However, always assess the extent of the damage carefully and consider professional help when necessary. Regular maintenance and preventive measures are key to preserving your home’s siding and, ultimately, its value.